
一、介绍
1、wechaty是迄今为止最易于使用的开源微信机器人框架
只要会写JavaScript就可以开发微信机器人,示例只有7行代码:
import { Wechaty }  from 'wechaty' // import { Wechaty } from 'wechaty'
Wechaty.instance() // Global Instance
.on('scan', (qrcode, status) => console.log(`Scan QR Code to login: ${status}\nhttps://api.qrserver.com/v1/create-qr-code/?data=${encodeURIComponent(qrcode)}`))
.on('login',            user => console.log(`User ${user} logined`))
.on('message',       message => console.log(`Message: ${message}`))
.start()
2、树莓派是一个具备硬件接口的廉价卡片电脑
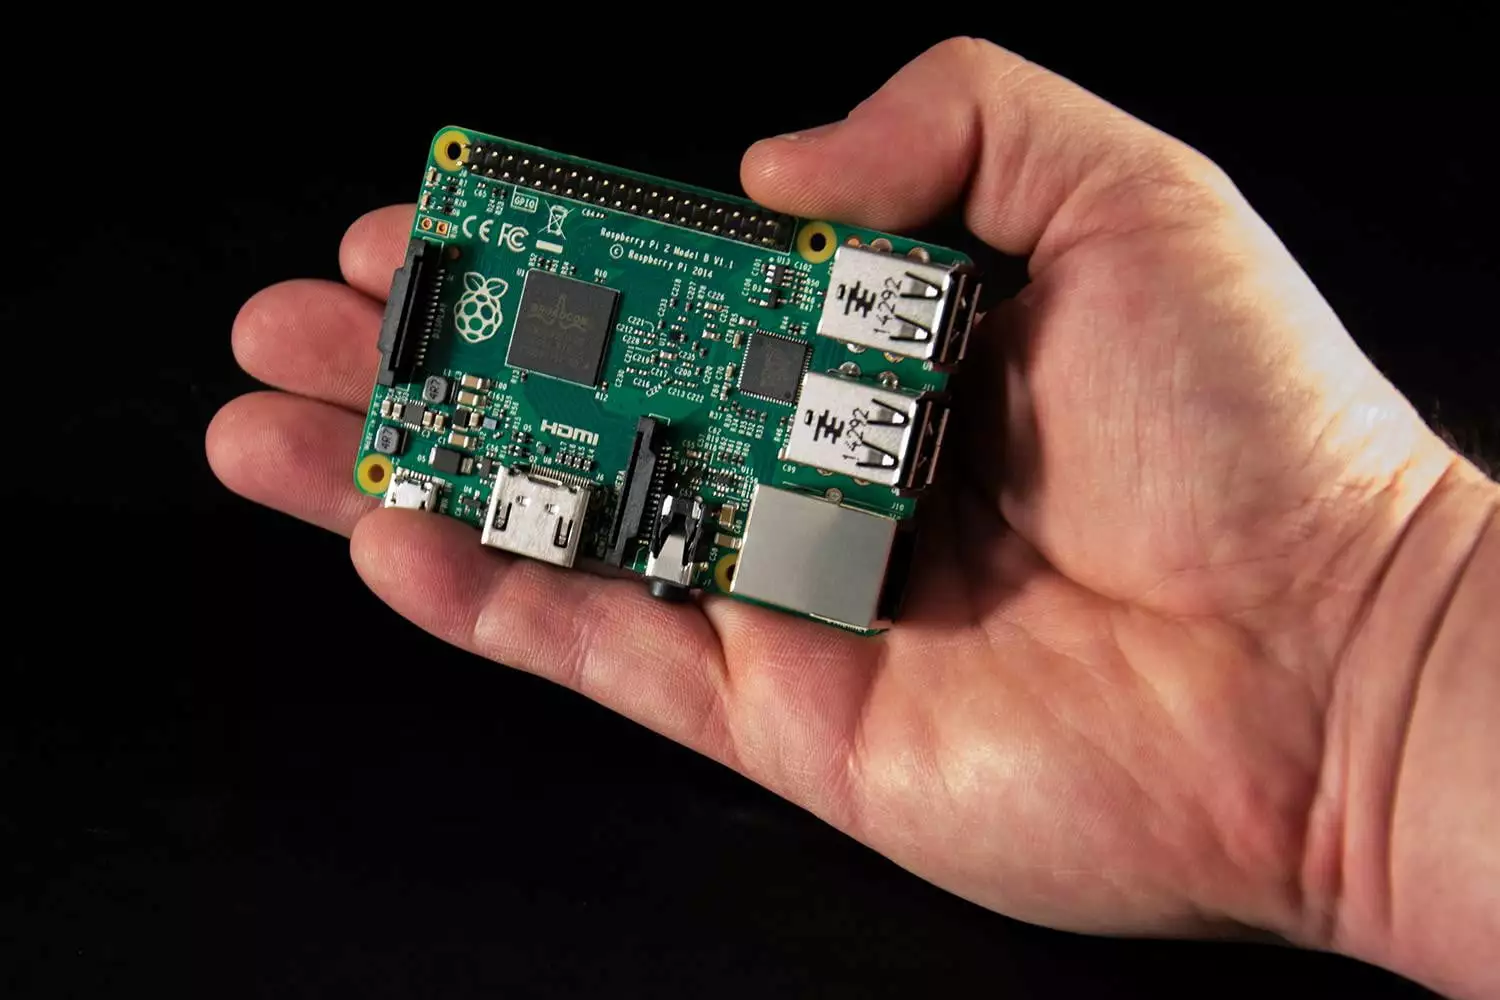
树莓派能运行完整的linux系统,可通过读写GPIO文件的方式实现与硬件交互。树莓派降低了开发硬件的难度,可使用开发软件的方式开发硬件。
3、树莓派定律:凡是能在PC上运行的软件,必须在树莓派里也能运行
这个定律是我说的,因为我不出名,所以大部分人都不知道。
二、思考:wechaty + 树莓派 = ?
这个世界一直在重复造轮子。有平行的,有升维的,也有降维的。换了一个环境和应用场景时,常常会对同样的东西实现重新定义。比如直播重新定义了电视购物。而运行在树莓派上的wechaty微信机器人,则重新定义了人与智能设备的交互方式。
三、在树莓派上体验wechaty
1、安装nvm
curl -o- https://raw.githubusercontent.com/creationix/nvm/v0.33.11/install.sh | bash
2、设置 ~/.profile,内容如下
export NVM_DIR="$HOME/.nvm"
[ -s "$NVM_DIR/nvm.sh" ] && \. "$NVM_DIR/nvm.sh"
3、安装node
nvm install 13
nvm use 13
4、创建一个名为wechatypi的文件夹,进入文件夹并安装wechaty及依赖
cd wechatypi
npm init
npm install wechaty@0.38.0
npm install bufferutil@^4.0.1
npm install utf-8-validate@^5.0.2
5、创建 bot.js 文件
import { Wechaty }  from 'wechaty' // import { Wechaty } from 'wechaty'
Wechaty.instance() // Global Instance
.on('scan', (qrcode, status) => console.log(`Scan QR Code to login: ${status}\nhttps://api.qrserver.com/v1/create-qr-code/?data=${encodeURIComponent(qrcode)}`))
.on('login',            user => console.log(`User ${user} logined`))
.on('message',       message => console.log(`Message: ${message}`))
.start()
6、运行
wechaty-puppet-service用的是windows微信协议,该协议需要使用token。把下面命令中的token替换成你的token。然后执行如下命令,启动机器人。
WECHATY_PUPPET=wechaty-puppet-service WECHATY_PUPPET_SERVICE_TOKEN=token node bot.js
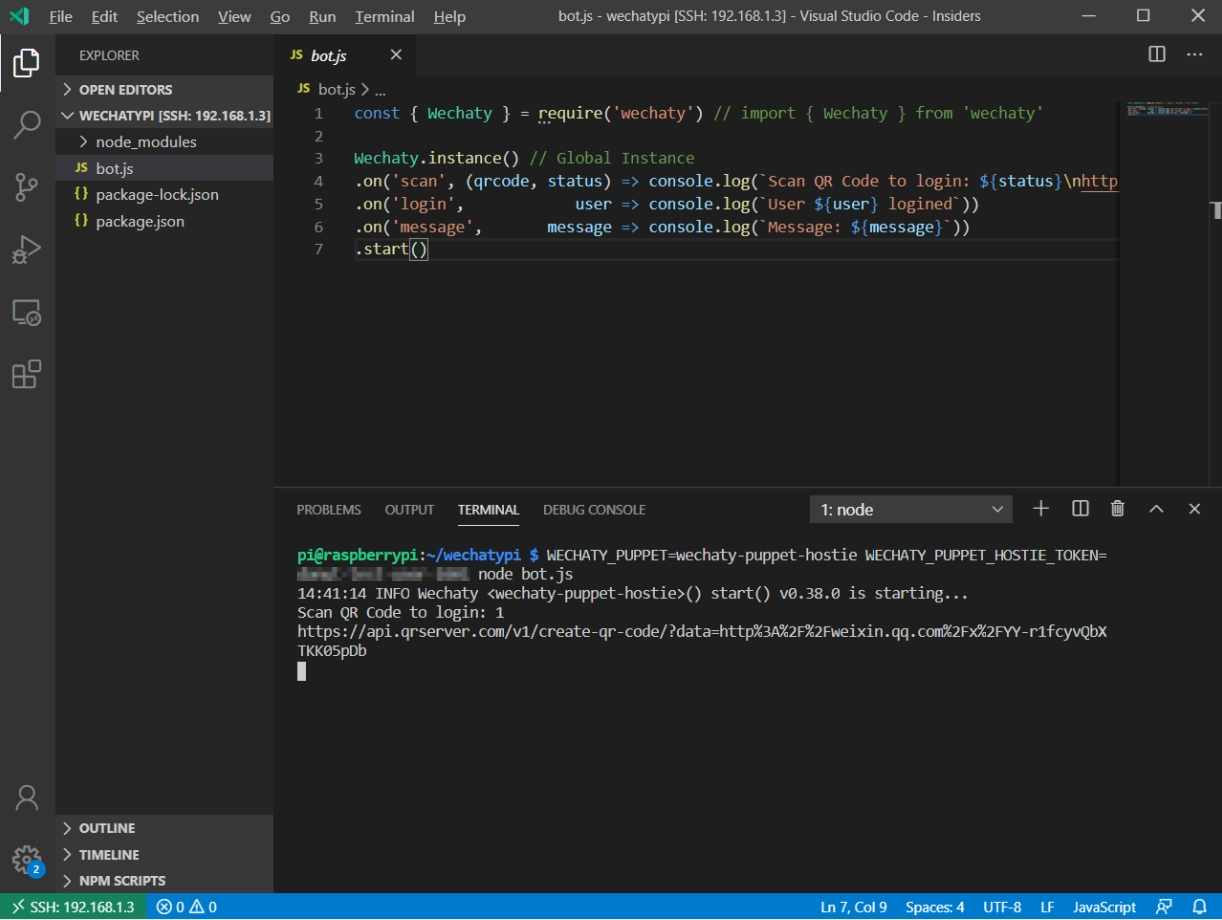
7、终端上会出现一个url,复制粘贴到浏览器上,会出现一个二维码。
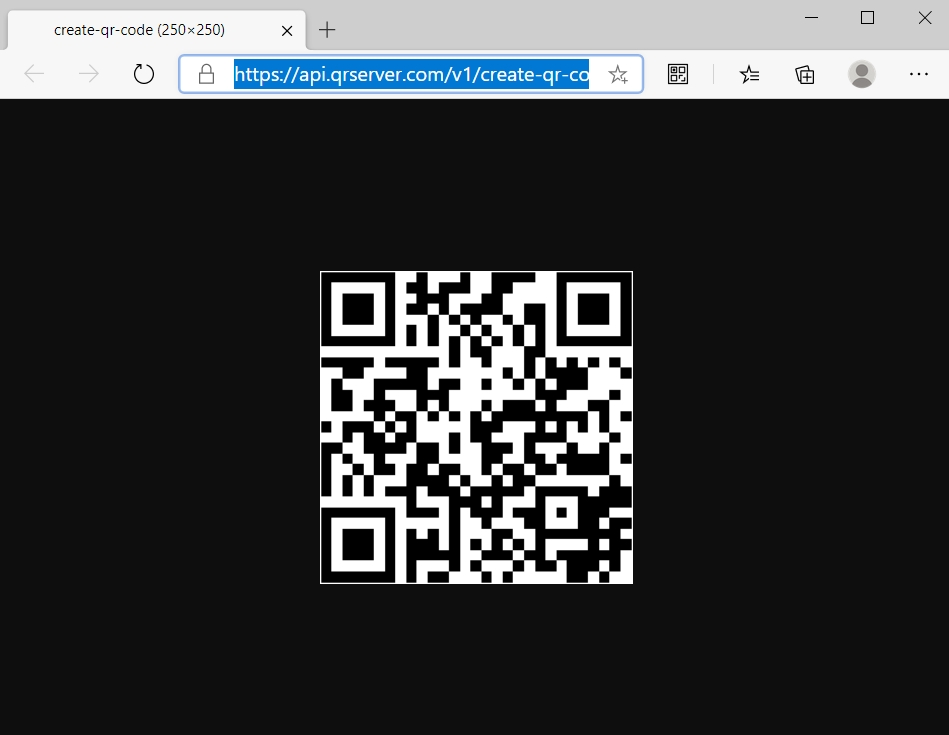
使用微信扫码登陆,微信机器人就上线了。
四、最简单的应用:根据消息开灯或关灯
关键代码
树莓派操作硬件,只需要引入相应的GPIO库,操作GPIO,只需要对某个针脚执行高电平或低电平:
import Gpio from 'onoff'.Gpio;//引入GPIO库
设置针脚17为输出针脚,用于连接继电器
const led = new Gpio(17, 'out');//设置针脚17为输出针脚
开灯
led.writeSync(1);//高电平开灯
关灯
led.writeSync(0);//低电平关灯
全部代码
import { Wechaty }  from 'wechaty' // import { Wechaty } from 'wechaty'
import Gpio  from 'onoff'.Gpio;
const led = new Gpio(17, 'out');
Wechaty.instance() // Global Instance
.on('scan', (qrcode, status) => console.log(`Scan QR Code to login: ${status}\nhttps://api.qrserver.com/v1/create-qr-code/?data=${encodeURIComponent(qrcode)}`))
.on('login',            user => console.log(`User ${user} logined`))
.on('message',  on_msg)
.start()

function on_msg(message){
    var from = message.from()
    var text = message.text()
    var to = message.to()
    if(text=="open"){
        led.writeSync(1)
    }
    if(text=="close"){
        led.writeSync(0)
    }
    console.log(`Message from: ${from}`)
    console.log(`Message text: ${text}`)
    console.log(`Message to: ${to}`)
}
上面的代码以后可能会更新,最新代码位于:
https://github.com/wechatypi/gpio
视频演示
https://www.bilibili.com/video/BV1bz411B7XG?seid=14179117841102771483
作者: cr4fun,极客、物联网专家,SDK产品经理。
 Open-source Wechaty in Python, Go, and Java