作为公众号的号主,有粉丝加微信想要进群是一件很开心的事情,但是久了以后会发现通过好友、改备注、拉群这些事情耗费太多精力了。还好有幸发现了 wechaty 这个项目。昨天试了一下,真的大大解放了我的双手,这篇博客就以公众号号主的角度,来看看怎么用 wechaty 来开发一个机器人小助手的。
其实挺早之前就看见过 wechaty 网页 web 版微信机器人的支持,但是目前支持 web 登录的微信号应该是越来越少了,我的微信号自然也是不能登录。本来都快放弃希望了,但是最近朋友推荐说 wechaty 其实可以绕过 web 这个限制,改用 ipad 协议登录,本文就来一探究竟。
功能如下:
- 自动通过好友
- 关键字回复进群
- 自动改备注
token
使用 ipad 协议登录需要先从官方申请一个 token,你可以参与开源激励计划获取 15 天的试用 token,也可以直接购买,具体看这里:
安装
- 首先确认你的 node 版本在 10 以上。
node --version
- Windows 系统需要先安装 python 环境
npm install -g windows-build-tools

npm install -g node-gyp
- 创建项目
mkdir my-padplus-bot && cd my-padplus-bot

npm init -y

npm install ts-node typescript -g

tsc --init --target ES6

touch bot.ts // copy the example code to it
注意,这里的 tsc 指令要求你全局安装 typescript
npm i typescript -g
- 安装
wechaty依赖
npm install wechaty@latest -S

npm install wechaty-puppet-padplus@latest -S // ipad 登录协议用

npm install qrcode-terminal // 终端生成二维码用
- 编写
bot.ts
根据官方给的最小示例,先复制进去。
// bot.ts
import { Contact, Message, Wechaty } from "wechaty";
import { ScanStatus } from "wechaty-puppet";
import { PuppetPadplus } from "wechaty-puppet-padplus";
import QrcodeTerminal from "qrcode-terminal";

const token = "your-token";

const puppet = new PuppetPadplus({
  token,
});

const name = "your-bot-name";

const bot = new Wechaty({
  puppet,
  name, // generate xxxx.memory-card.json and save login data for the next login
});

bot
  .on("scan", (qrcode, status) => {
    if (status === ScanStatus.Waiting) {
      QrcodeTerminal.generate(qrcode, {
        small: true,
      });
    }
  })
  .on("login", (user: Contact) => {
    console.log(`login success, user: ${user}`);
  })
  .on("message", (msg: Message) => {
    console.log(`msg : ${msg}`);
  })
  .start();
token 那边填写你申请获得的即可。
开发
接下来就可以开始我们的业务开发了:
自动通过好友
通过公众号等方式引导粉丝加你为好友以后,机器人这边会监听到一个事件 friendship,我们只需要通过好友,然后改备注,自动给他发送一段引导消息,等待他回复 「加群」 两个字以后拉他入群。
bot.on("friendship", async (friendship) => {
  // 如果是添加好友请求
  if (friendship.type() === Friendship.Type.Receive) {
    // 通过好友请求
    await friendship.accept();
    // 获取联系人信息
    const contact = friendship.contact();
    greeting(contact);
    addAlias(contact);
  }
});

/**
 * 对新增好友打招呼,提示加群消息
 */
async function greeting(contact: Contact) {
  try {
    await contact.say(`Hi,终于等到你!回复「加群」,即可加入进阶交流群哦。`);
    console.log(`greeting to ${contact.name()} successfully!`);
  } catch (e) {
    console.log(`failed to greeting to ${contact.name()}`);
  }
}

/**
 * 为好友添加别名 「前端 + 名字」
 */
async function addAlias(contact: Contact) {
  const name = contact.name();
  const newAlias = `前端 ${name}`;
  try {
    await contact.alias(newAlias);
    console.log(`change ${contact.name()}'s alias ${newAlias} successfully!`);
  } catch (e) {
    console.log(`failed to change ${contact.name()} alias!`);
  }
}
自动加群
如果粉丝有意愿加群,那么他看到这个消息后就会回复你,这时候我们可以监听 messsage 事件,根据关键字来判断是否要拉他入群。
bot.on('message', async (msg: Message) => {
  if (msg.type() === Message.Type.Text) {
    if (!msg.room()) {
      console.log(`msg : ${msg}`)
      const text = msg.text()
      if (text === '加群') {
        addContactToRoom(msg.from()!)
      }
    }
  }
})

  /**
 * 添加联系人入群
 */
async function addContactToRoom(contact: Contact) {
  // 这里直接填写你的群名称即可
  const room = await bot.Room.find({ topic: '前端进阶交流群' })
  if (room) {
    try {
      await room.add(contact)
    } catch (e) {
      console.error(e)
    }
  }
}
启动
先确保你安装了 ts-node,然后直接 ts-node bot.ts,你的机器人就开始工作了,让你的好友回复关键字测试一下吧。
总结
有了这个机器人以后,可以把更多的时间用来写优质的文章回馈社区了,真的太棒了!希望这篇文章能对正在做公众号的你有所帮助哦。
Author: @your_github_username front-end developer Code: @wechaty-bot
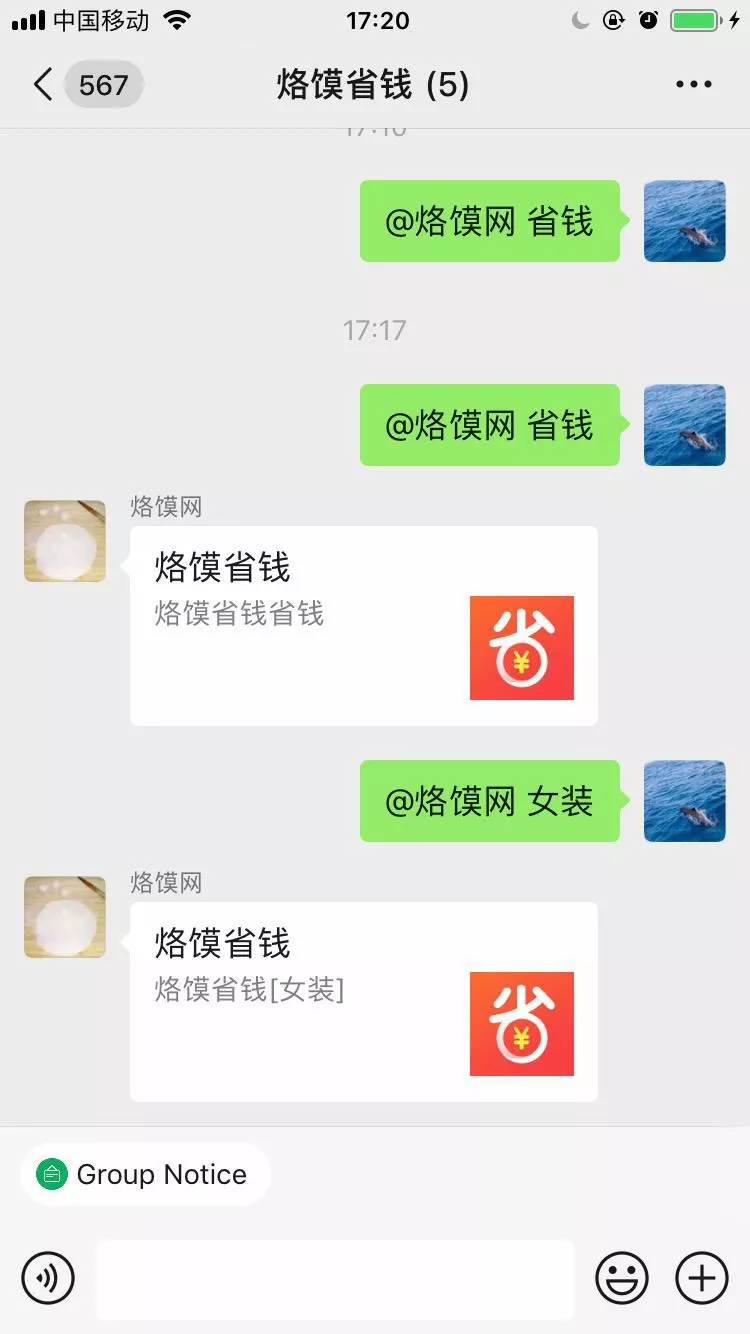 带货机器人(wechat robot seller)